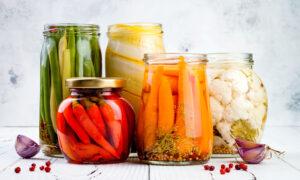
Maybe you have fond memories of canning pickles with your grandmother that year the garden produced an overabundance of cucumbers. Or maybe you’ve wondered how the crunchy tang of the pickle compares to, say, the jar of kimchi sitting on the refrigerator shelf.
They’re both vegetables soaking in a briney liquid, right? Although the terms “pickled” and “fermented” are sometimes used interchangeably, there are actually significant differences both in the methods used to produce them and the nutritional value each one offers.
What’s the Difference?
There are several different methods for both pickling and fermenting foods, and there can be some overlap between them. Let’s draw a line here and define “pickling” as extending the shelf life of vegetables or fruits by submerging them in a hot vinegar solution, while “fermenting” refers to sprinkling foods with salt or soaking them in a brine and allowing them to sit and ferment at room temperature.Pickling
The process of pickling is relatively simple. Pickling involves boiling a vinegar solution and pouring it over the vegetable of choice (often cucumbers). The hot liquid destroys microorganisms that are present on the vegetables, and the acidic environment discourages the growth of spoilage organisms. This extends the shelf life of the pickled product. The pickled food is flavored with the sharp tang of the vinegar, along with any added spices or sweeteners.Pickled foods offer nutritional benefits, too. Danielle Crumble Smith, a registered dietitian nutritionist at Top Nutrition Coaching, told The Epoch Times that “pickled foods can be a healthy addition to a balanced diet, offering nutritional benefits like preserved vitamins, minerals, and antioxidants.”

“However, due to their high sodium content and potential lack of probiotics, it’s important to consume them in the context of a balanced diet and still prioritize fresh produce when possible,” she said.
“Most pickled vegetables are low in calories, making them a good snack or meal addition for those watching their calorie intake. Also, pickled foods are a much healthier alternative to chips for individuals looking to satisfy a salty/crunchy craving.”
Fermenting
Fermented foods, on the other hand, have a history that predates even that of the famed pickle. Archeologists believe that the ancient Chinese fermented a beer-type beverage way back in 7000 B.C. made from rice, honey, and fruit. Today, fermentation works in very much the same way it did then—by harnessing the power of yeast, bacteria, or fungi to preserve and transform food.The Battle Between Microorganisms Begins
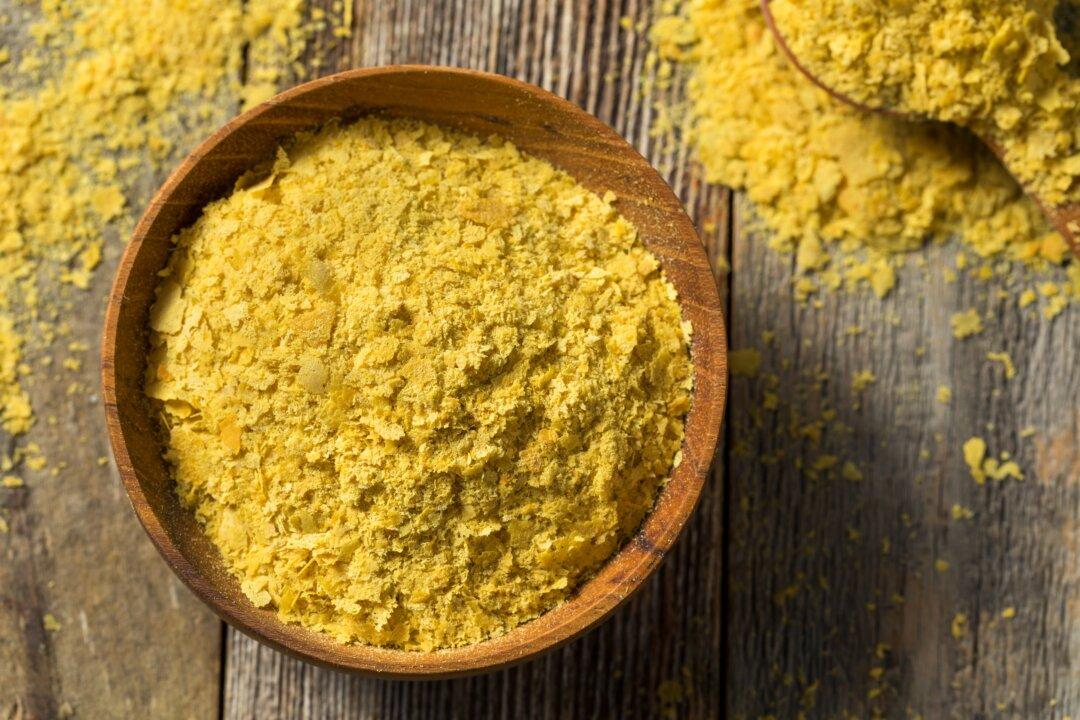
Initially, the brine contains whatever microorganisms were originally on the vegetables or in the air at the time of filling the container. After a few days, lactic acid bacteria, which are naturally occurring and widespread, start to feed on the sugars in the vegetables and convert them into lactic acid.“Fermented foods have a lot of nutritional benefits, and I do recommend them frequently,” Ms. Smith said. “Fermented foods like yogurt, kefir, sauerkraut, and kimchi contain probiotics—beneficial bacteria that can improve gut health. These probiotics help balance the gut microbiome, which is crucial for digestion and overall health. They can also aid in digestion by helping to break down complex proteins, fats, and carbohydrates. Fermentation can also increase the bioavailability of nutrients, making it easier for the body to absorb them.”
Ms. Smith cautions people with digestive issues such as SIBO (small intestinal bacterial overgrowth) about eating fermented foods because they can sometimes exacerbate the condition.

Fermenting Food at Home
Ready to try your hand at fermenting foods at home? The following recipe is from Pascal Baudar’s book “Wildcrafted Fermentation: Exploring, Transforming, and Preserving the Wild Flavors of Your Local Terroir.”Basic Sauerkraut
Ingredients for a 1-quart jar (946 ml):- 1 large green cabbage (a bit less than 2 pounds/900g)
- Salt
Remove the outer leaves of the cabbage. Set aside a clean leaf to be used later for keeping the shredded cabbage submerged in the brine.
Quarter the cabbage, remove the tough inner core, and slice into thin strips.
Place an empty bowl on a scale, and reset the scale to zero. Add the sliced cabbage to the bowl and calculate the weight. The amount of salt used for sauerkraut is usually about 2 teaspoons salt for a pound of vegetables. If you end up with about 1.75 pounds of sliced sauerkraut, for instance, you would use about 1 tablespoon (3 teaspoons) of salt.
Add the salt and massage/squeeze the cabbage forcefully with both hands until the cabbage becomes very watery. The idea is to extract enough juice so that you can keep the ingredients submerged in the created brine. It usually requires about 5 minutes of massaging—sometimes a bit more if the cabbage was dry from long storage.
Place a canning funnel on top of the jar (optional) and pack the cabbage inside it. The goal is to eliminate air pockets but also to have liquid (brine) covering the contents. Try to leave around 1 ½ to 2 inches headspace in the jar. When you’re done, cover the top with the folded leaf you set aside at the beginning. Place a pasteurized stone or other weight on top to keep the ingredients under the brine.
Remove any floating particles. Place the lid on top and close it, but not so tight that fermentation gases can’t escape. Place the jar in a somewhat shaded area of the kitchen. It’s a good idea to set a plate under it in case the fermentation process pushes some of the liquid over the top.
After the initial fermentation (about 10 days in warm climates), screw the lid tight as the fermentation gasses should be practically nonexistent.
Place the jar in the fridge.
As you eat the contents, it’s a good idea to transfer and pack the contents into a smaller jar. The less airspace above your sauerkraut, the longer it will keep.