The best vacations are a result of proper planning, from making reservations to arranging transportation and packing. But don’t forget the garden! Watering is the main concern while out of town, but there are other things to consider—including weeds getting out of control, damage from summer heat, and crops becoming overripe and rotting.
A Moment for Mulch
Adding a three-to-four-inch layer of mulch—any more than four inches will smother the plants—will not only help soil retain moisture but will also help insulate roots from summer heat.Long-lasting wood mulch will, as a bonus, spruce up the good looks of shrub and flower beds. Leaf or straw mulch works great for the vegetable garden. Got some extra compost lying around? Layer it on for nutrient-rich heat protection.
Mulch also goes a long way toward suppressing weeds. Those that do sprout will be easier to pull up since they’re rooted in the loose mulch instead of in packed soil. Mulch does not, however, kill existing weeds, so schedule time for a thorough weeding in the days before the vacation.

Container Plants 101
With less soil to hold moisture, container plants are particularly vulnerable. The good news is that most of them can be moved to a shady location. Plan ahead, as some heavier containers may require assistance or a hand truck to shift safely.Move indoor container plants away from the hot windows and direct sunlight as well. Then it’s time to set up an unattended watering system.

Water Bottle Trick
A 16-ounce plastic bottle for small plants or a two-liter bottle for larger ones makes an easy and inexpensive self-contained hydration system. Simply poke or drill two to four holes in the lid, fill the bottle with water, and bury it cap-side down near the plants’ roots.The idea is that the water will release in a controlled manner as the soil (which should be well-watered prior to bottle installation) dries out. This system will typically last a week or two, but you can always test the water absorption rate before vacation since results can vary greatly depending on pot size, soil type, and ambient temperature.
String and Jar
No room in the pot for a water bottle? Fill a vase, soda bottle, or bucket with water, and set it near the plant. Saturate a cotton string (old shoelaces work great!) or a piece of yarn and bury one end of it near the plant’s roots. Set the other end in the water container, making sure it’s long enough to touch the bottom.The idea is that water will wick slowly along the string and into the soil for continued watering. As with a water bottle, test first to see how long the hydration lasts.
Adding Automation
For trips longer than two weeks, consider a simple DIY micro-irrigation setup. Cut a thin hose to size and line it with micro-sprays or irrigation drippers. Place them near the plants’ roots. Connect the hose to an indoor faucet or outdoor spigot, and add a timer to ensure even watering every few days, or more often if needed. Grouping containers together will make setup simpler.
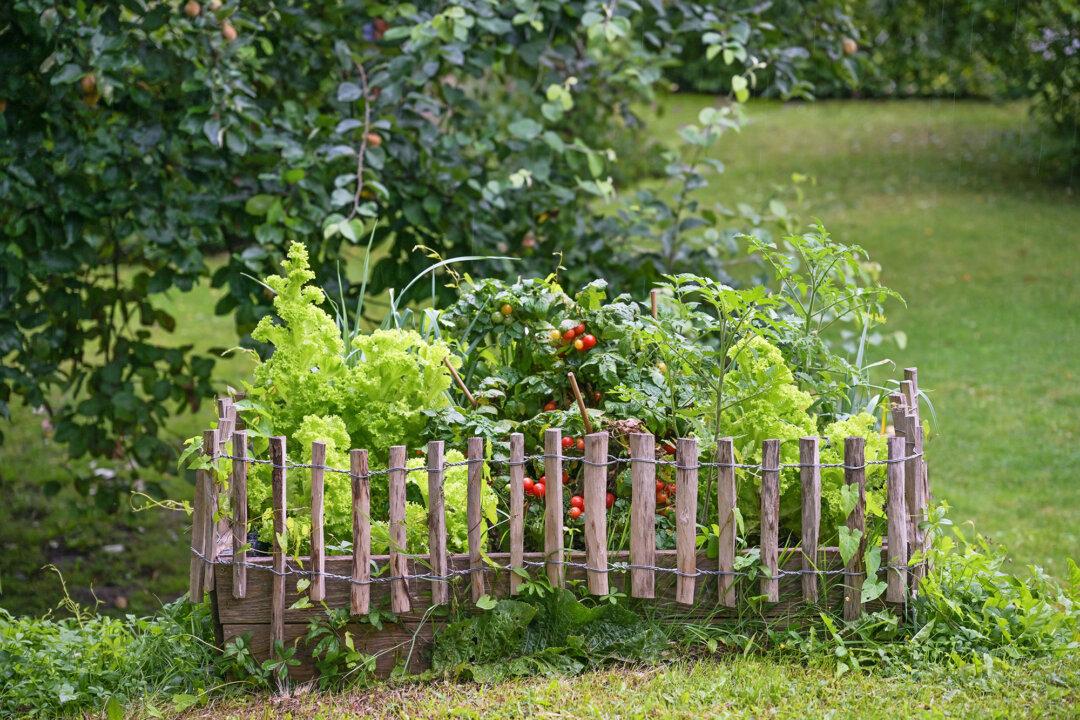
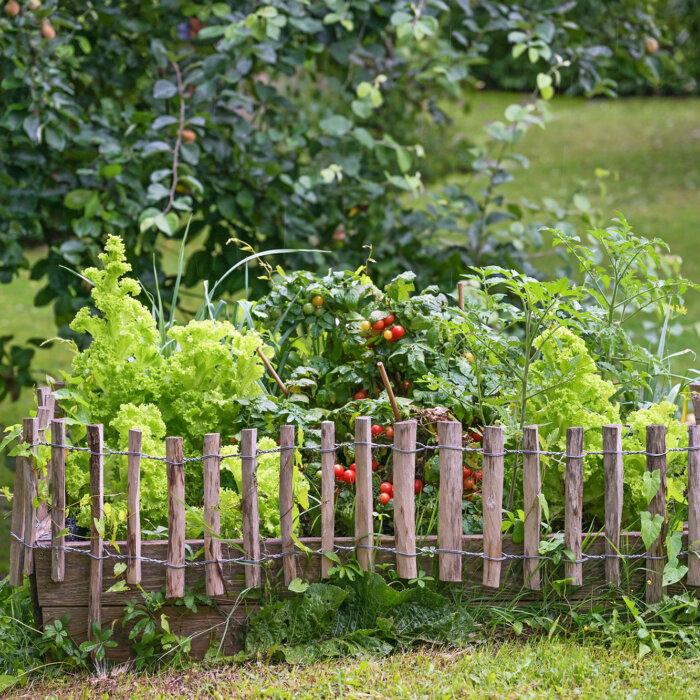
In-Ground and Raised Beds
Micro-irrigation works equally well for in-ground or raised-bed vegetable gardens and flower beds, but will get a bit more expensive depending on the garden size. A less expensive and much faster option is to run soaker hoses through the garden or use a timed sprinkler. The latter is a better choice for lawns as it can lead to uneven watering in a vegetable garden, as well as potentially leading to powdery mildew growing on wet leaves.Portable Shade
Even if plants are getting sufficient water, it’s ideal to have a neighbor or friend visit while you’re gone so they can fine-tune things as needed.If that’s not an option, cover heat-sensitive plants (tomatoes, broccoli, and leafy greens) with shade cloth to extend the soil moisture and protect them from high temps and sunburn. Even old bedsheets will work as plant or row covers, but keep in mind that plants will need some sun. Since morning sun is gentler, angle the sheets to protect plants from the harsh afternoon rays.